 Roxy’s Downtown: Photographing a Small Stage Room
The Ambassador Hotel, Wichita: Four Ways Out of the Ornate-Ceiling Problem
The ceilings are the reason to photograph here, and they are the thing photographers most reliably lose.
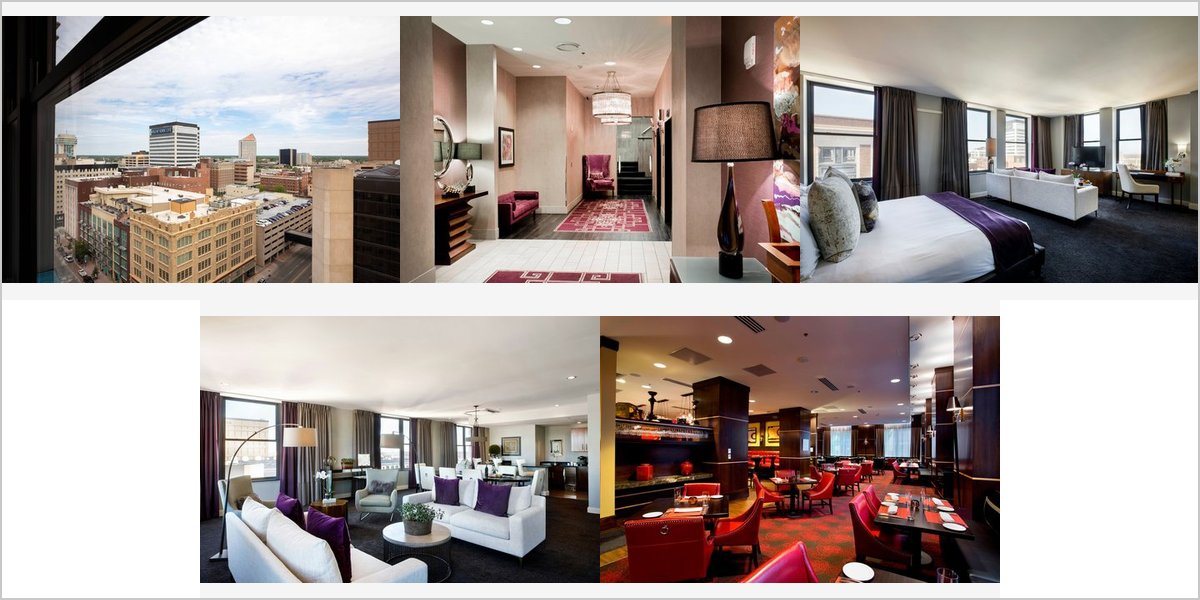
The Ambassador Hotel occupies a 1920s commercial building in downtown Wichita, Kansas, converted to a hotel while keeping the high ceilings, ornate plasterwork and proportions of its original use.
Buildings of this generation and type share one photographic problem above all others, and it is the one that costs the most: the ceiling is the best thing in the room and it is several stops brighter than the people standing under it. Ornate plaster is pale, it is usually uplit or lit by fixtures suspended below it, and the resulting difference between the ceiling and a face at floor level commonly runs to three or four stops. Meter for the couple and the plasterwork washes to a featureless white; meter for the plasterwork and the couple are silhouettes.
That is the central problem and there are four ways out of it, each suiting a different frame. We have not photographed a wedding at the Ambassador; 1920s ornate interiors behave the same wherever they survive. Which rooms are allocated and what rigging is permitted are questions for their events team.
The Ambassador Hotel at a glance
| Where | Downtown Wichita, Kansas |
| Character | A 1920s commercial building converted to a hotel, ceilings intact |
| The problem | Uplit plaster runs three or four stops above the people beneath |
| What is lost | Relief, mouldings and the detail that is the reason for the frame |
| Ask first | Which rooms have the original ceilings, and what rigging is allowed |
Why ornate ceilings are lost so consistently
Three things combine. The plaster is pale, so it reflects efficiently and reaches a high brightness from modest light. It is lit deliberately, usually from below by uplighters or by pendant fixtures that throw upward as well as down, so it is the brightest surface in the room by design. And the people are on the floor, several metres further from that light and lit only by whatever spills sideways.
The result is a gap that no single exposure spans comfortably, and the default behaviour of a camera makes it worse: metering an average scene with a bright ceiling in it produces a compromise where the ceiling is blown and the faces are still dim.
There is a second, subtler loss that matters just as much. Plaster relief reads only in directional light, exactly like carved stone — a moulding is visible because each element casts a small shadow. Uplighting from directly below flattens that relief rather than revealing it, so even a correctly exposed ceiling can look like a pale flat pattern rather than three-dimensional work. Whether that can be improved depends on what lighting is available and where it sits.
So the problem has two halves: exposure range and lighting direction. The four approaches below address them in different combinations.
Ways one and two: raise the room, or separate the frames
The first approach is the one every grand interior demands and it is the single most useful technique in this category of building: light the people up towards the ceiling rather than exposing down to them. One warm-gelled source at face height, at a power that brings the couple to within two or three stops of the plasterwork, then expose for the plasterwork. The relief survives, the fixtures clip small rather than blooming, and the faces still read.
Two or three stops, not matched. Bringing them level flattens the frame and removes the sense that the room rises above the people, which is the whole character of a high ornate space. The ceiling should stay clearly the brightest thing — just not clipped.
The second approach is to stop trying to do both in one image. A tight couple frame with a hint of ceiling above, plus a separate architectural frame of the ceiling itself exposed properly, gives two strong photographs instead of one compromised one. They also sit better on a page as a pair than a single distorted attempt at everything.
For that architectural frame, camera position matters. Shooting straight up from the floor gives a symmetrical pattern that works if the ceiling is centred on an axis — find the axis, level carefully with the electronic level, and centre exactly, because in a symmetrical frame an approximate centre reads as an error. From a landing or mezzanine, if one exists, the ceiling is nearer and the camera axis is closer to horizontal, which reduces distortion and is almost always the better position.
- Raise the couple to within two or three stops, then expose for the ceiling
- Never match them; the ceiling should stay clearly brightest
- Take a separate architectural frame rather than compromising one image
- Shoot the ceiling from a landing if possible; floor level distorts
- Gel your key warm so it belongs in a 1920s tungsten-lit room
Ways three and four: use the fixtures, or bracket deliberately
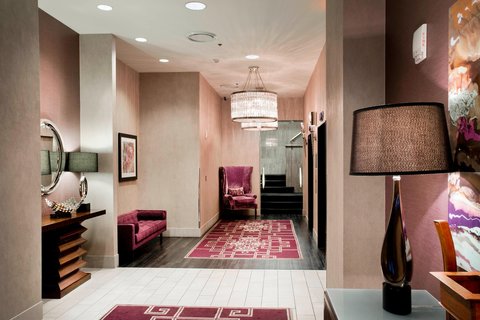
The third approach uses what is already there. Period fixtures — pendants, sconces, chandeliers — are light sources with shape, and a frame composed so a fixture sits in it as a subject rather than as a problem changes the arithmetic entirely: you are no longer trying to hold a wide ceiling, you are photographing an object that happens to be bright. Expose for the fixture and its immediate surround, let the rest fall, and the frame reads as intentional.
Sconces on a wall are particularly useful because they light the plaster beside them from the side rather than from below, which is the direction that reveals relief. A couple placed beside a wall sconce gets warm directional light and the mouldings next to them read properly, which is a better frame than the middle of the room offers.
The fourth approach is technical and worth having: bracket the ceiling deliberately and blend. If the room is being photographed empty — before guests arrive, which is when the ballroom is pristine and worth recording anyway — a tripod and two or three exposures give a ceiling with full relief and a floor with detail, blended afterwards. That is an architectural technique rather than a wedding one, but the empty-room frame is in almost every gallery a couple keeps, and this is how it gets made properly.
It only works with nobody moving in the frame, which is exactly why it belongs in the twenty minutes before the doors open. Ask the coordinator for access then; it costs nothing and it is the one time the room exists as designed.
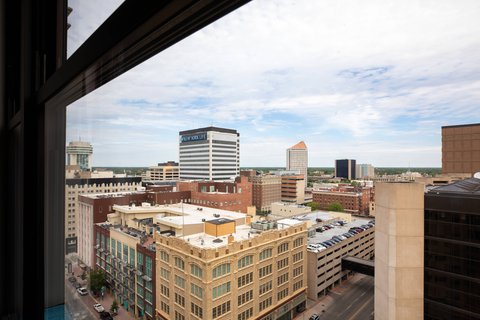
Two further notes on a converted commercial building. Guest floors are where the daylight is, and a large window on the shaded side is the best simple light in the building — ask for that room for preparation, switch off the overheads and move the lamps out. And downtown Wichita outside is low-rise, so low evening sun reaches street level and runs the length of a street, which is the daylight block worth scheduling because the ornate interiors are entirely time-independent.
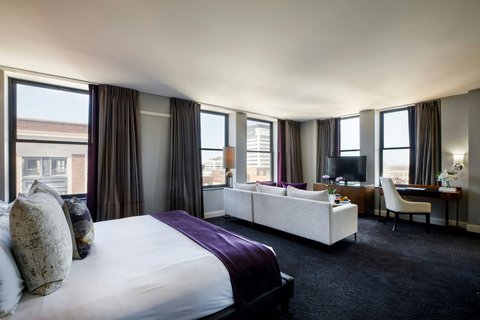
More frames from The Ambassador Hotel
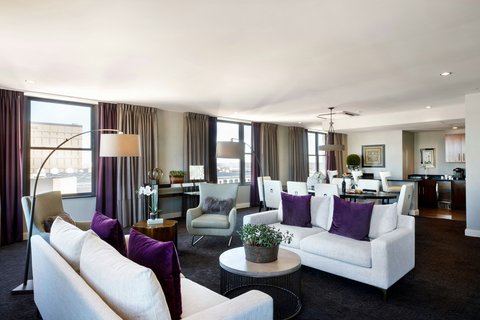
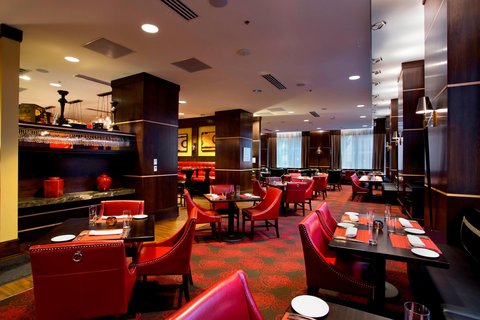
The Ambassador Hotel wedding photography: common questions
Why does the ornate ceiling always blow out?
Because it is pale, it is deliberately uplit so it is the brightest surface in the room, and the people are metres further from that light. The gap commonly runs three or four stops, which no single exposure spans comfortably.
What is the fix?
Light the people up towards the ceiling rather than exposing down to them. One warm-gelled source at face height bringing the couple within two or three stops of the plaster, then expose for the plaster. Relief survives and faces still read.
Should the ceiling and the room match in brightness?
No. Matching them flattens the frame and removes the sense that the room rises above the people, which is the character of a high ornate space. Keep the ceiling clearly brightest — just not clipped.
Why does the plasterwork look flat even when exposed correctly?
Because relief needs directional light, exactly like carved stone — each moulding reads by casting a small shadow. Uplighting from directly below flattens it. Light from the side, such as a wall sconce, reveals it far better.
Is there a way to photograph the ceiling properly?
Bracket and blend, from a tripod, with nobody moving — which means the twenty minutes before guests arrive. That gives full relief in the ceiling and detail on the floor, and the empty-room frame is in almost every gallery a couple keeps.
Where is the simple light in the building?
A guest-floor window on the shaded side. Ask for that room for the preparation block, switch off the overheads and move the lamps out — mixed tungsten and daylight is the commonest cause of inconsistent skin tone across a morning.
More Kansas venue guides
We are writing a photographer’s guide to every venue we would happily shoot in Kansas. Here are three more, plus the full index:
- Botanica Gardens: One Decision About Kansas Wind
- Crestview Country Club: How the Fairway Frame Is Actually Made
- The Drury Plaza Broadview: One Decision About Which Way You Work
Planning a wedding at The Ambassador Hotel?
The ceiling is why you are here and it is the thing most often lost. Tell us your date and we will plan to keep it.